







Windowsill Microgreens: A Beginner's Guide to Growing Salad Indoors
Urban Gardening | September 19, 2026
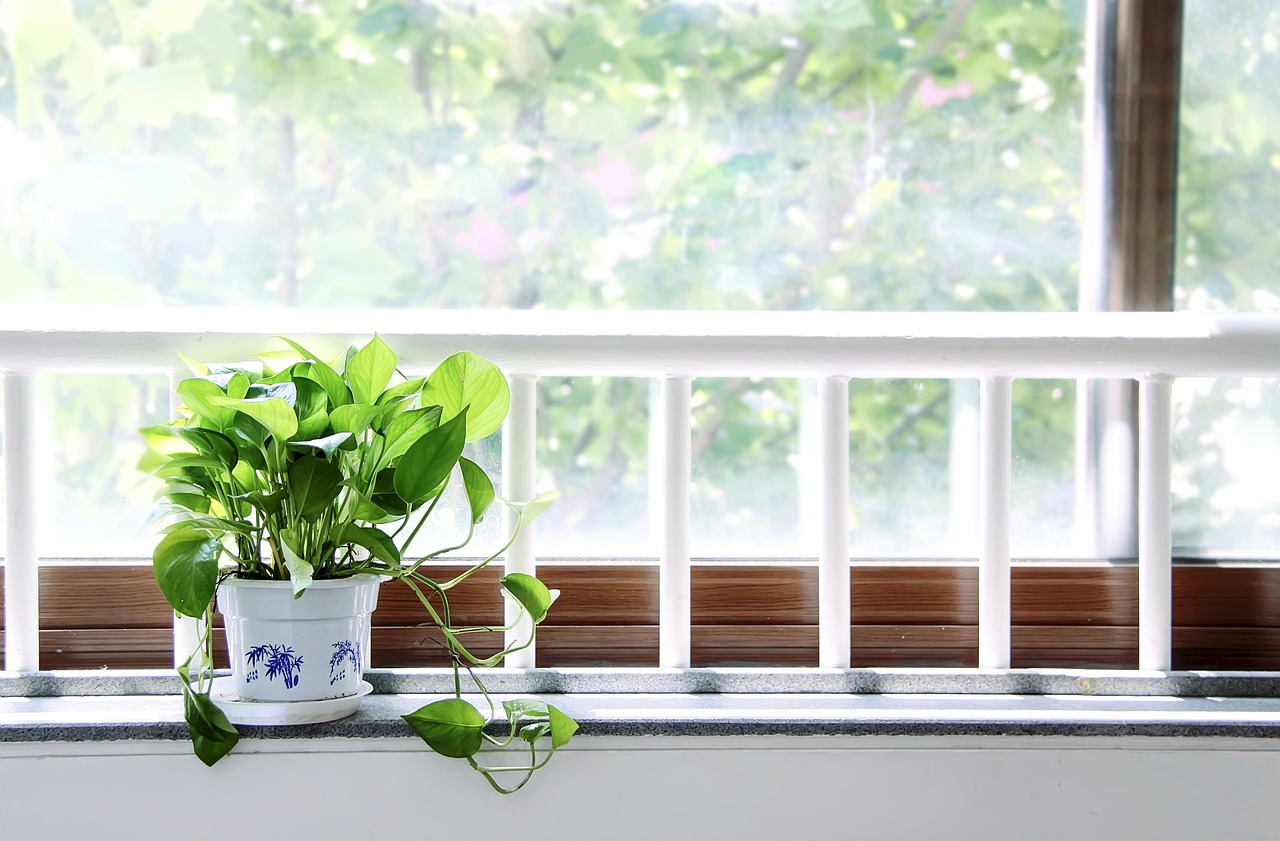
There's a particular kind of magic in watching a dense mat of green push up from a tray of soil on your kitchen windowsill. Microgreens are the young, tender shoots of vegetables and herbs, harvested just after their first true leaves appear. They're packed with flavor, they grow in days rather than months, and they ask for almost nothing beyond light, water, and a shallow tray. For city dwellers with limited space, they might be the most rewarding thing you can grow indoors.
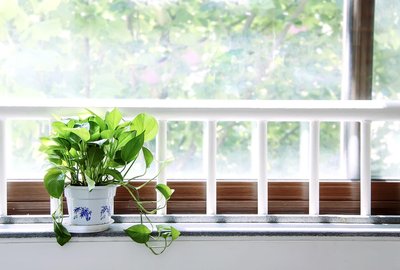
The beauty of microgreens is their flexibility. You don't need a garden bed, a balcony, or even a particularly green thumb. A south-facing windowsill that gets four to six hours of light will do. If your window faces north or you live somewhere with long gray winters, a small LED grow light clamped to a shelf works wonders. The whole setup can live on a single shelf or a corner of a countertop, which makes it perfect for apartments where every square foot is spoken for.
Choosing Seeds and Setting Up Your Trays
Start with seeds that are easy and fast: radish, broccoli, sunflower, pea shoots, and kale are all forgiving choices. Radish microgreens germinate in two or three days and are ready to eat in about a week, with a peppery kick that wakes up sandwiches and salads. Sunflower shoots take a little longer but give you a satisfying crunch. You can buy dedicated microgreen seed mixes, or simply use leftover seeds from your garden stash, though avoid anything treated with fungicides.
For containers, shallow trays with drainage holes are ideal. Many people use recycled clamshell containers from the grocery store, poking a few holes in the bottom. Fill them with an inch or two of potting mix, press it down gently, and scatter seeds thickly across the surface. You want a dense carpet, not a sparse row. Cover the seeds with a thin layer of soil, mist them well, and place another tray on top to block light for the first few days. This darkness encourages strong, even germination. Once sprouts push against the cover, remove it and let the light in.
Watering, Harvesting, and Keeping Things Tidy
The biggest mistake beginners make is overwatering. Microgreens like moisture but not swamps. Mist the soil surface once or twice a day, or water from the bottom by setting the tray in a shallow dish of water for a few minutes. Bottom watering keeps the leaves dry, which prevents mold, the enemy of indoor growing. Good airflow helps too, so a small fan on low, pointed near but not directly at the trays, can make a real difference in humid kitchens.
Harvest when the plants are an inch or two tall and the first pair of true leaves has appeared. Grab a sharp pair of scissors and cut just above the soil line. Rinse the greens gently, spin or pat them dry, and use them right away. They'll keep in the fridge for a few days in a loosely covered container, but honestly, the pleasure of snipping them straight into a bowl is half the point. Once a tray is harvested, compost the root mat and start a new one. With two or three trays rotating, you can have a steady supply of fresh greens all year, no garden required.
-

-

-
The Fire Escape Harvest: Growing Food in the Smallest Urban Spaces
Aug 26, 2026Sustainable City Living

-
Composting in a City Apartment Without the Smell or the Fruit Flies
Oct 4, 2026Small Space Gardening

-

-
Rain Barrels, Drip Lines, and Other Ways to Waste Less Water in Your Garden
Aug 27, 2026Urban Gardening

-

-
Windowsill Microgreens: A Beginner's Guide to Growing Salad Indoors
Aug 31, 2026Sustainable City Living

-

Neon Meadow

Rooftop and balcony hives are booming in cities, but keeping bees responsibly takes more than a pretty box and a dream.